Replace Your Old Controller

Before installing your Yardian Pro, you will need to safely remove your existing system.
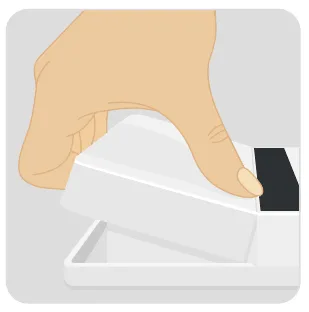
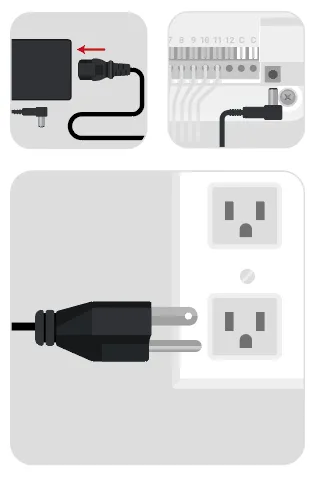
Power Off: Ensure the power supply to your old controller is completely turned off.
Snap a Photo: Take a clear picture of the current wiring setup on your old controller. This will serve as your primary reference guide.
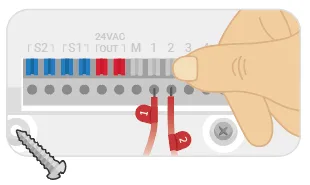
Label the Wires: Use the provided numeric stickers to label each wire before disconnecting them. Pay close attention to:
Common / Ground Wires (usually marked as ‘C’ or ‘GND’)
Zone Wires (connected to your individual zone valves)
Master Valve Wire (Optional)
Rain Sensor Wires (Optional)
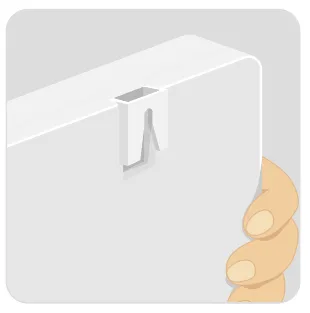
Disconnect: Carefully remove each wire from the old terminals. You are now ready to leave the old, frustrating programming behind!